Tampilkan postingan dengan label Art Activities. Tampilkan semua postingan

Minggu, 15 April 2012

Cloud Watching {with a book and activity idea}


It is getting super nice here and we just love being outside! Last week we spread out on the grass and watched the clouds in the sky after reading Little Cloud by Eric Carle. We talked about what shapes we saw and what each cloud moved like. 

After spending some time outside we came in and did a little art project. I put a white blob of thin, white paint on some blue paper and gave Bug a straw. Before doing this project I made sure she knew how to blow out of the straw, not in! 


Then I showed her how to blow through the straw at the paint so that it moves and spreads. 


PLEASE be careful not to let your child {or yourself} blow too hard for too long as not to get light headed. 

When you are finished you can look at your cloud painting and see if it looks like anything!

Bug said this looked like her Bear Bear {her little lovey that she sleeps with sometimes}

Don't forget to link up any outside play you do at our ongoing link party!


Senin, 02 April 2012

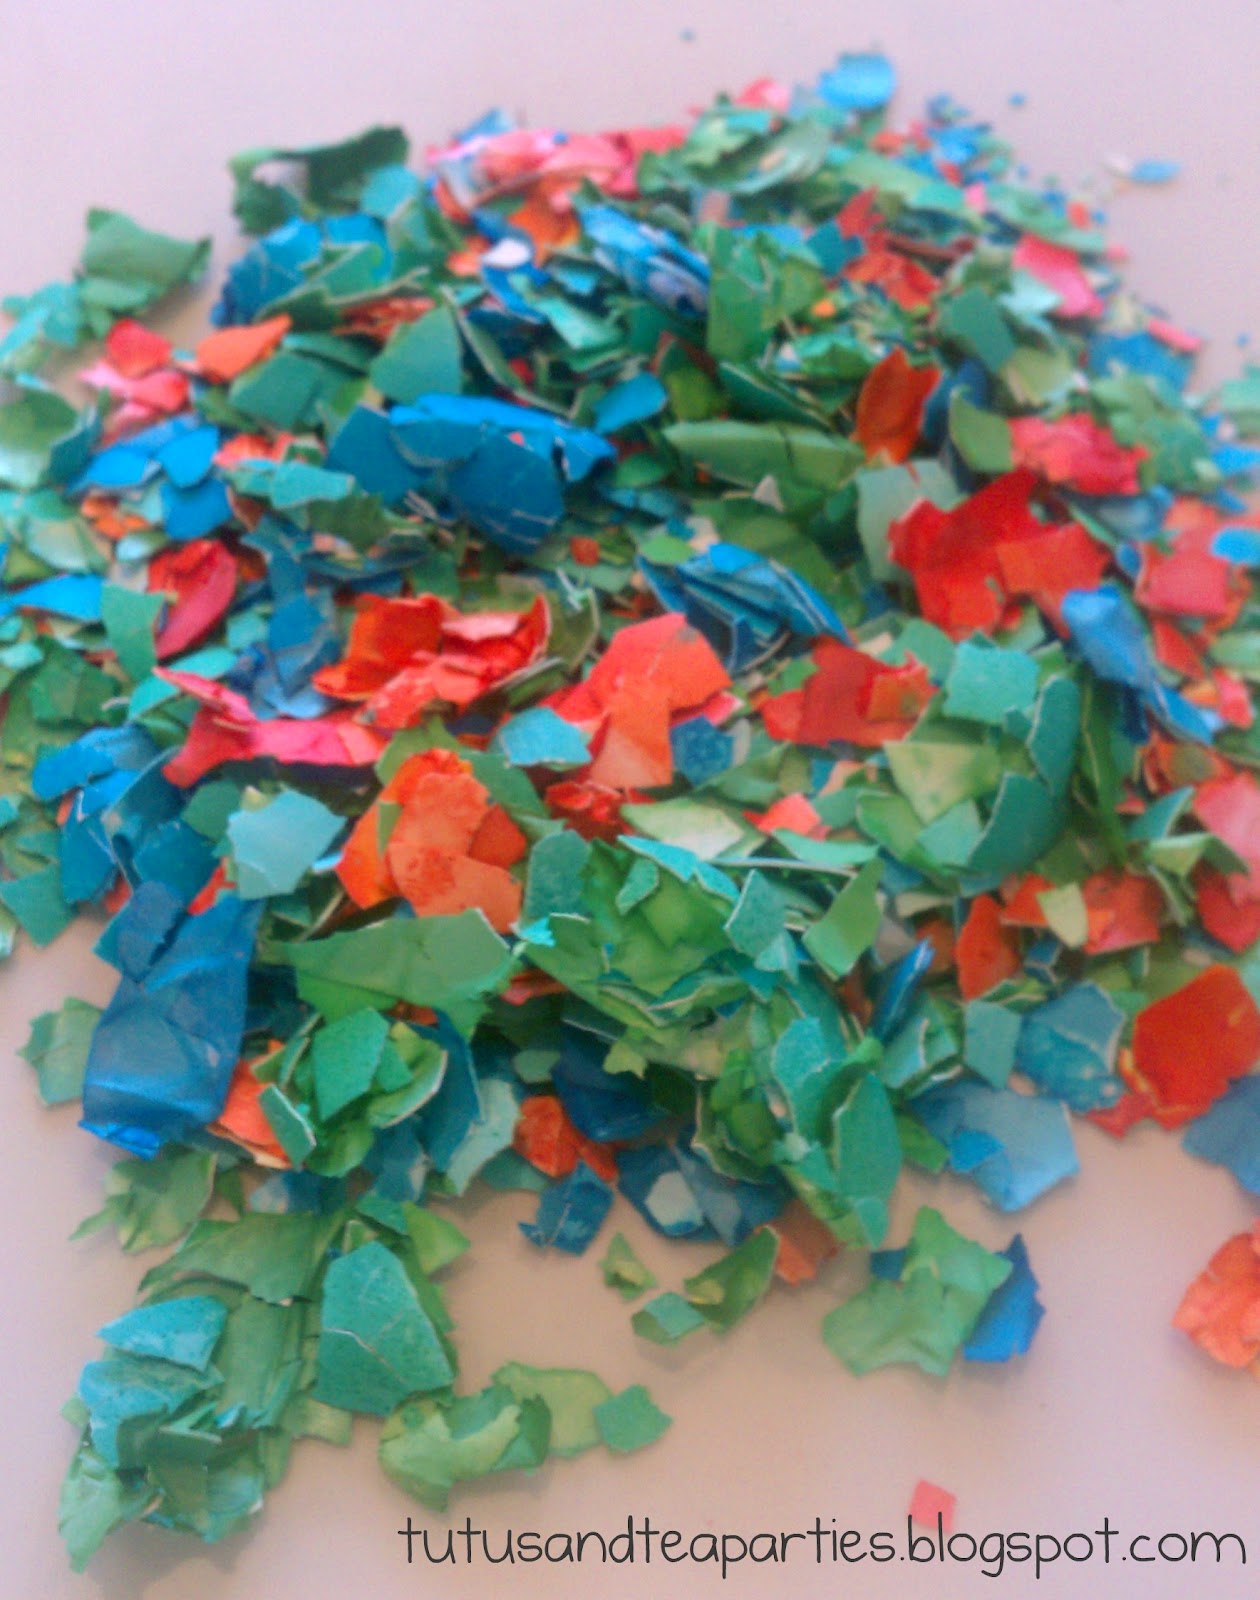
Colored Eggshell Art


I'm sure lots of you will be hard boiling and coloring eggs this week so here is a fun art project to do with some extra eggs.

Hard boil 2-3 extra eggs. When dying, peel the shell off the egg first, then drop the pieces of shell in the dye to get color on both sides. This helped with Bug since she's a toddler and didn't have to worry about gluing the wrong side down.

Once you have your shells dyed {I used water, a cap full of vinegar and food coloring since we did this before egg dying time}, let them dry then crack them into smaller pieces. 


You can glue onto cardboard, card stock or any other heavy type paper. We took an empty cereal box and cut an egg shape out of it. Glue on your eggshells and let it dry. 


After it's dry you may want to gently shake it over the garbage to get those shells that didn't quite get glued on so well off. {Warning: you may still have a few spare shells falling off here and there.}


 There you have it! I hope you give it a try with your little one! As always, feel free to share your projects on my Facebook wall if you do!

Speaking of Facebook, I want to let you all know I am holding an auction to raise money for the Susan G. Komen Foundation. All items are starting at 50% off with free shipping so come on by and see if there is anything you'd like. If anything, I'd love for you to share it with your friends and fans! Thanks!


Button

Selasa, 21 Februari 2012

Body Painting


What do you say when your child wants to use their body to paint? YES!

I taped 4 pieces of paper together, set out some finger paint and brushes, took her clothes off and let her go to town. She had a blast! 
{Just be ready for bath time right after...it gets pretty messy.}


You may find me at some of these child centered link parties.

Rabu, 08 Februari 2012

Exploring Paint {using differet utencils & canvases}

Did you know using different art utencils & canvases to paint on not only enhances creativity, it improves motor skills and exposes your child to different sensory experiences? Well, it does! So get out of the paint brush funk and try these other options-


Painting Utencils:
q-tip
toothbrush
yarn
bubble wrap
pine needles
cotton balls
parts of their bodies
feather
apples/potatoes/lettuce/other fruits or veggies {great for stamping}
cookie cutters
corks
combs
sponges {cut into squares or shapes}
spray bottles
straws {blob paint on paper and blow with straw to spread it}
cars
blocks
toy animals
bingo markers
bottles {like condiment bottles to squeese out the paint}
balloons {fill with paint and pop over paper}
balls/marbles
toilet paper tubes
droppers {works great for liquid watercolors}
kitchen utencils {potato mashers are fun!}
fly swatters
spaghetti

Paints:
{check out my Pinterest board on DIY Art Recipes}

watercolors
finger paint
shaving cream
chalk
colored glue
mud

Canvases:
table {an art table or easy to clean table is great for exploring things like shaving cream}
windows
sand paper {great for chalk}
construction paper
card stock
side walk
rocks
bathtub
cardboard {boxes, tubes...}
body {using face paint is fun and easier to clean}
aluminum foil {great for markers}
egg cartons
plexi-glass
snow {use liquid watercolors in a spray bottle}
fabric {shirts, sheets...}
wood {unfinished pieces, scrap wood...}
coffee filters {watercolors work great on these}
mirrors
paper plates, cups...
bread/food {use milk & food coloring}

Do you use something that's not on the list? 
I'd love to know!

Just some of our art experiences:
using droppers & oil

comb painting

snow paint

painting dowels to make rythem sticks

using her body to paint

using a dropper, liquid watercolors & coffee filters

kool-aid sprinkled on glue

You may find me at some of these child centered link parties.

Kamis, 02 Februari 2012

Valentine's Day Cupcake Magnets


Happy Fridday! I don't have a giveaway for you all today BUT I do have a cute Valentine's Day craft to do with the kiddos this weekend. {if you are interested in sponsoring a giveaway please shoot me an email here}

We haven't really been doing a lot of Valentine's Day crafts but with the day soon approaching I guess we should start, huh?

What you need:

  • tacky glue
  • large pom poms
  • tiny pom poms/pipe cleaners
  • an old magnet {like the kind the pizza place gives you} or you can buy a pack of magnets
  • mini cupcake liners
What to do:
  • Glue the large pom pom in the cupcake liner.
  • Glue either a small pom pom or cut & swirled piece of pipe cleaner on top {for a cherry or frosting} You can also use colored glue as the swirl of frosting if you'd like}
  • Cut a magnet piece to fit on the bottom of your cupcake liner and glue in place after other pieces have dried.
There you have it! Some cute little cupcake magnets. :)

Here are some photos of Bug making them {and yes, we are pantless...again!}:


 I would suggest cutting the magnet into a circle that fits the whole bottom of the liner.

Hang up some artwork or a love letter using your new cupcake magnet! <3

You might find me at some of these link parties here.

Senin, 30 Januari 2012

Comb Painting


Did you all see me over at Mess for Less a couple weeks ago? I did a guest post on Comb Painting but just in case 
you missed it...here it is!

I don't know if you have seen paint scrapers before. They are about $3 for a few different style scrapers. Problem is...I can't seem to find them in a store and paying the shipping doesn't make it worth it for me.


If you want to get the same look {of at least one of them} you can use some combs! I got a pack of 10 at my dollar store.


 Grab some paint, paper and combs 
{there was a mix of smaller and larger combs so we used one of each}

 Make a strip {I had to make strips all down the paper since it didn't scrape down very much} of paint. You can also have your child drip paint all over. Bug wanted me to do it.

 Start scraping!

If your child is anything like mine they will want to use their fingers to paint too.

You might find me at some of these child centered link parties here

This post has been featured:

Selasa, 24 Januari 2012

Bubble Wrap Heart Art {Guest Post from Mess For Less}

I am so excited to have Vicky from Mess For Less guest posting here today! She has a super fun Valentine's Day art project to do with the kiddos that they will love. I know Bug will be all over this project...making me lots and lots of these hearts!


I am so excited to be posting here today at Tutus and Tea Parties! Thanks to Lauren for asking me over. My name is Vicky and I blog over at Mess For Less. I am a mom of 3 (3 year old twins and a 2 year old) and I write about kids activities, crafts and money saving tips. I hope you will stop by and visit us!
Mess For Less
We love bubble wrap in my house. The kids love to pop it, play with it and have even painted with it in the past. I love that it's free. With Valentine's Day just around the corner, I thought we could incorporate bubble wrap and painting while creating some seasonal artwork.
Supplies you will need:
  • Bubble wrap (I used some with larger circles, but the smaller type would work as well)
  • Paint colors of your choosing
  • Tray
  • Paintbrush and cups for mixing
  • Easel paper
  • Marker
  • Scissors
Start by using your marker to trace some large hearts on the back of some bubble. I made a heart for each of the three colors I planned to use. You can also just trace and cut out one heart and use it in different colors to get more of a rainbow effect.
Pour some paint into a tray and spread it around. I mixed some pink and purple colors and used the plastic cups to combine the colors before spreading it on a tray.
Have your child dip the heart bubble wrap (circle side down) into the paint and then push their heart onto the paper to make a print.
My youngest, who just turned 2, really enjoyed this part.
I had three colors of paint and the kids wanted to try all the paint colors. 
Here are some of our finished pieces. I am so excited to decorate with these. What a simple and fun way to  add a touch of Valentine's Day to your home.
This last one was done by my youngest. As you can see, even when kids can't quite keep the hearts straight, the artwork is still eye-catching.


Vicky

Vicky, thank you so much for sharing this fun art project with us today! I'm sure we will be making lots of these hearts over here. We just love bubble wrap!

Connect with Mess For Less on Facebook & Twitter.

My fave posts from Mess For Less {so hard to choose just a few}:


{FYI- I carry these materials out to eat and this totally entertains Bug while the grown ups eat & talk}