Tampilkan postingan dengan label Fine Motor Skills. Tampilkan semua postingan

Minggu, 29 April 2012

Planting & Seeds Unit Lesson Ideas


I am going to start making unit plans since Bug is just about preschool age. I am going to shoot for each topic to be posted on Mondays so you can follow along if you wish for that week. During the month of April we learned about seeds! See what we did:

Art:

Seed Mosaics from Teach Preschool


Contact Paper Nature Collage from The Chocolate Muffin Tree {theirs & ours}

 Seed Easel Starter from Teach Preschool {theirs & ours}

Sensory:

 "Planting" flowers sensory table from EtsyKids.
Seeded Play Dough from Teach Preschool

Messy Kids Seed Bomb Tutorial from ReiLynn Designs

Math:
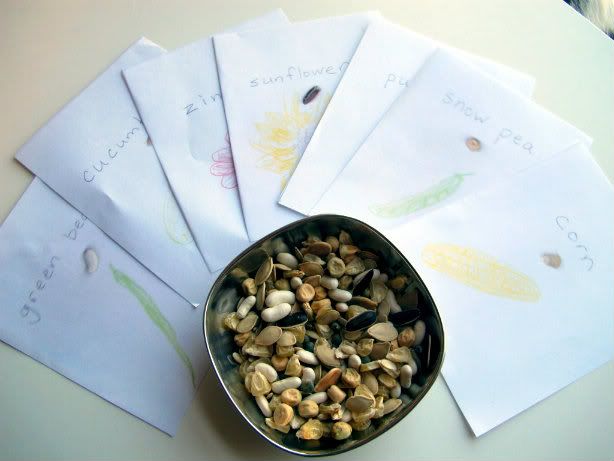
Counting Seeds from Teach Preschool

Science/Discovery:

 We "planted" beans in a plastic bag with wet paper towel and watched them grow.
Coloring Flowers from Teach Mama {theirs & ours}

Seed Matching from The Golden Gleem

Language/Books:


 {Flip, Float, Fly & The Tiny Seed are geared more toward older children - maybe around age 4 or so. My toddler sat through them but got a little antsy during reading them.}

Senin, 02 April 2012

Colored Eggshell Art


I'm sure lots of you will be hard boiling and coloring eggs this week so here is a fun art project to do with some extra eggs.

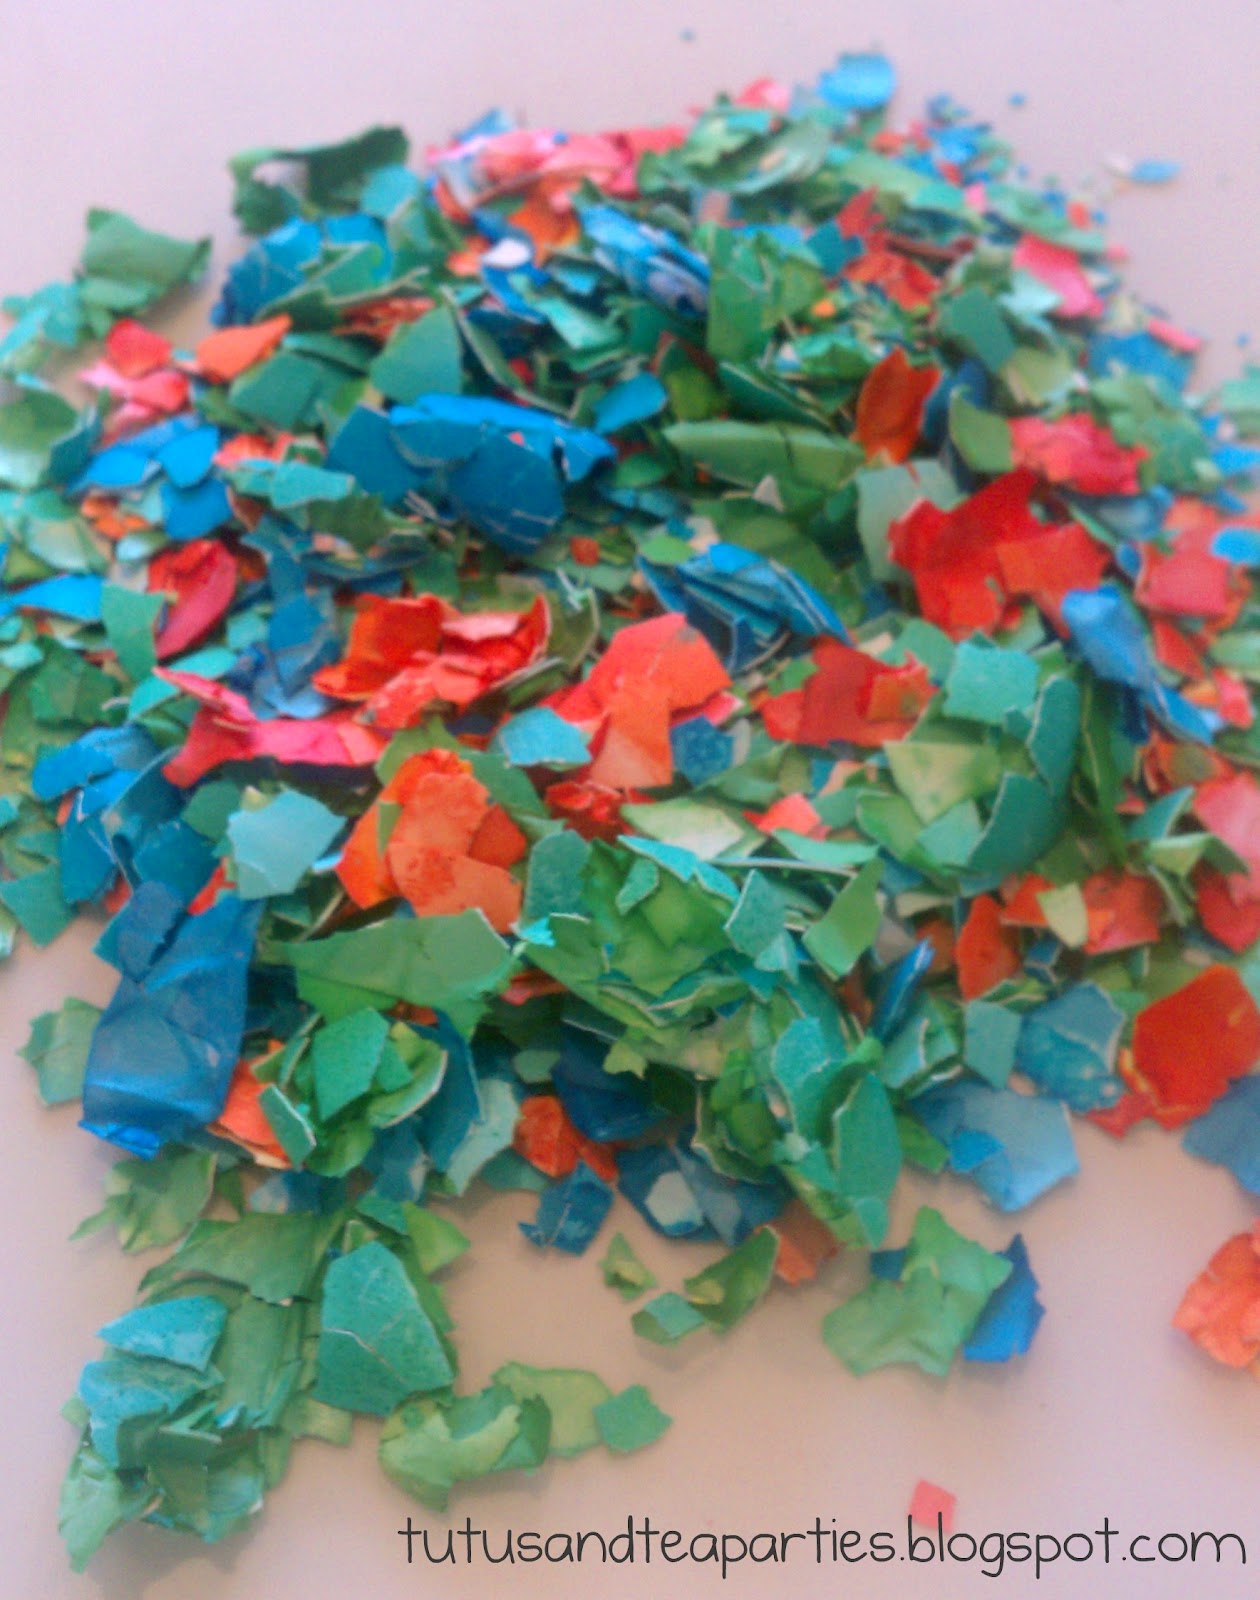
Hard boil 2-3 extra eggs. When dying, peel the shell off the egg first, then drop the pieces of shell in the dye to get color on both sides. This helped with Bug since she's a toddler and didn't have to worry about gluing the wrong side down.

Once you have your shells dyed {I used water, a cap full of vinegar and food coloring since we did this before egg dying time}, let them dry then crack them into smaller pieces. 


You can glue onto cardboard, card stock or any other heavy type paper. We took an empty cereal box and cut an egg shape out of it. Glue on your eggshells and let it dry. 


After it's dry you may want to gently shake it over the garbage to get those shells that didn't quite get glued on so well off. {Warning: you may still have a few spare shells falling off here and there.}


 There you have it! I hope you give it a try with your little one! As always, feel free to share your projects on my Facebook wall if you do!

Speaking of Facebook, I want to let you all know I am holding an auction to raise money for the Susan G. Komen Foundation. All items are starting at 50% off with free shipping so come on by and see if there is anything you'd like. If anything, I'd love for you to share it with your friends and fans! Thanks!


Button

Kamis, 02 Februari 2012

Valentine's Day Cupcake Magnets


Happy Fridday! I don't have a giveaway for you all today BUT I do have a cute Valentine's Day craft to do with the kiddos this weekend. {if you are interested in sponsoring a giveaway please shoot me an email here}

We haven't really been doing a lot of Valentine's Day crafts but with the day soon approaching I guess we should start, huh?

What you need:

  • tacky glue
  • large pom poms
  • tiny pom poms/pipe cleaners
  • an old magnet {like the kind the pizza place gives you} or you can buy a pack of magnets
  • mini cupcake liners
What to do:
  • Glue the large pom pom in the cupcake liner.
  • Glue either a small pom pom or cut & swirled piece of pipe cleaner on top {for a cherry or frosting} You can also use colored glue as the swirl of frosting if you'd like}
  • Cut a magnet piece to fit on the bottom of your cupcake liner and glue in place after other pieces have dried.
There you have it! Some cute little cupcake magnets. :)

Here are some photos of Bug making them {and yes, we are pantless...again!}:


 I would suggest cutting the magnet into a circle that fits the whole bottom of the liner.

Hang up some artwork or a love letter using your new cupcake magnet! <3

You might find me at some of these link parties here.

Kamis, 26 Januari 2012

Marshmallow Catapults {I'm over at Mama Mia's Heart2Heart}

I hope you are all ready for some fun today! I'm over at Mama Mia's Heart2Heart today to show you how to make these marshmallow catapults. 

You won't want to miss it...they are so much fun!


Marshmallow Catapults

I hope you will stop on over and check out my guest post.


Rabu, 11 Januari 2012

Colored Spaghetti Sensory Play


I was making dinner the other night {spaghetti & meat sauce} and though how fun it would be to play with the spaghetti! I knew coloring it would make it even more fun so I did some browsing and found this video on how to color spaghetti. It's really easy...just take a look.


I didn't have any watercolos so I used food coloring. It worked just fine but didn't distribute the color evenly.

If you don't have a sensory table {I don't} then you can use a bowl, tupperware, one of those disposable lasagna pans {which we used}...pretty much anything your little heart desires. There are also tons of sensory table DIYs around the internet if you are handy enough to make one yourself. We also have a water table that we like to use.

Bug had so much fun playing in the spaghetti. In fact, it was all day project! Here are all the things we did with it:


 First we played with it using our hands.

 Then I broke out the toddler scissors.

 She had some trouble with them so I showed her to lay it over a cup and use 2 hands to cut.

 Then I held it and she used 2 hands to cut.

 Bug served me some scoop-fulls!

 I even dared to let her take it out by the carpet to cook in her kitchen.

She stepped in the tub and wiggled her toes. {I think she liked this best - be careful though, it's slippery}

 We took the spaghetti to the floor and made some shapes with them too!


It was so much fun! How will you play with spaghetti?

Linking up to these child centered link parties.


Senin, 09 Januari 2012

Puffy Paint Letter Cards


Bug is starting to learn her letters. She knows a good amount already and she can write an H {the first letter of her name}. I love having some hands on ways to learn so I came up with this for letter learning. Bug seems to like them and we have been working on one letter at a time each week. I have all the letters she knows in one pile and the ones to learn in another so she can play games with the letters she learned. I am thinking about gluing a photo of the letter sign on the back to help her with signing her letters when I'm not there to show her the sign.

What you will need:
-microwave puffy paint recipe {found here}
-microwave
-writing utensil {I used a Sharpie}
-cardboard {we used an old box}
-food coloring
-scissors/razor blade
-a squeese bottle or a spoon
-patience

What to do:
-cut 26 small-ish squares out of your cardboard {big enough to write a letter on}
-draw in marker a letter on each square
-make the microwave puffy paint {I doubled the recipe and had a little more than enough}
-using your squeese bottle {I used a spoon} trace the letter with your puffy paint
-micrawave according to instructions below the recipe {I think we did it for about 25 seconds}


Here are some things you can use these for:
  • Have your children trace along the letters with their fingers.
  • Do crayon rubbings with the letters. {not sure how well these would work...but it would be worth a shot}
  • Make words with the letter squares.
  • Spread them all out, mix 'em up and have a letter search.
  • Glue a photo of something that begins with that letter or a photo of the ASL sign for that letter.

See where I link up here.