Recycled Soda Can Easter Bunny Broach

Hi, I’m Julia from Goat Notes Blog, and I am so excited to be here on Tutus & Tea Parties! Today I am sharing with you my Easter Bunny Broach made from an empty soda can!
Materials:
1 Empty soda can, cleaned and dried
A pair of sturdy Scissors
Permanent makers: 1 Black, and then 3 colors you choose- I went with Grass Green, Turquoise, and Yellow
Masking tape
Sturdy sewing needle
Thread (I used light pink, use what matched your color scheme)
Small 3 inch crocheted doily (I bought mine at the Dollar Store)
Felt cut into 2 inch circles (you will need 2)
Sticky pin-back
Glue gun
Make Your Broach!
- Select and cut-out your silhouette bunny image and set aside.
- Prepare the Soda can by taking your scissors and cutting off the top and the bottom of the can so you end up with a flat piece of aluminum to work with.
- Cut the piece of aluminum in half. Set aside one piece of the aluminum for another project.
- Tape the top and bottom edges of the other piece to your work area using the masking tape.
- Trace the bunny silhouette with the black permanent marker and cut out the image. Discard all of the aluminum scraps so all that remains is your aluminum bunny.
- Decorate your aluminum bunny with the permanent markers. Get creative!
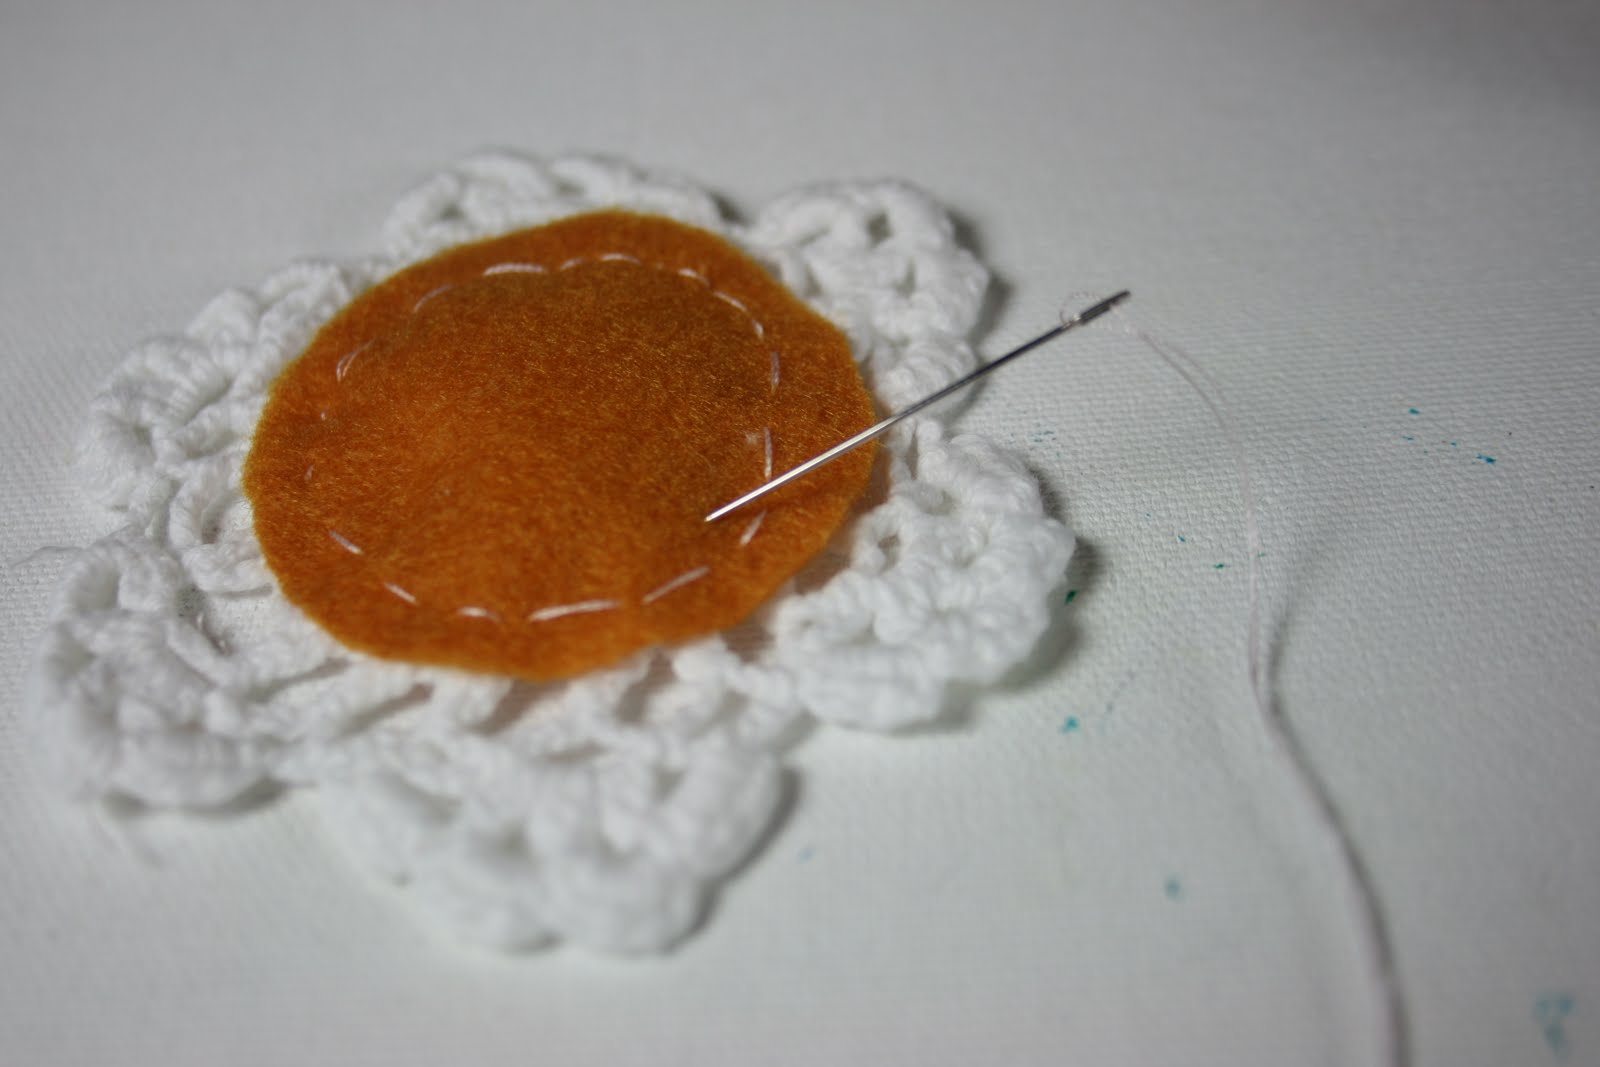
- Set-aside your bunny for a moment to work on the base of your broach. Cut out two, 2 inch circles from your felt. Place one of the circle pieces on top of your doily.
- Sew around the edges of the entire circle, I like to sew big stitches, but you can do what works best for you.
- Now, place your aluminum bunny on top of the felt and doily and line it up with where you want it to rest on your base. Using your needle puncture holes in your bunny in all main areas that need to be secured. Take a look at the photo to get an idea where I punctured my holes. After you puncture the holes, realign your bunny on top of the felt and doily. Using your needle and thread attach the bunny to the doily and felt. It won’t matter where the stitches for the bunny lands as we will be covering the back for a clean look.
- Flip the whole broach over, attached bunny and all, and using your glue gun glue the remaining felt circle to the back of the broach to protect the stitching.
- Attach and pin back, I used a sticky one as that is what I had, but you could easily sew the pin back onto the second felt piece before gluing it to the doily.
- AND, Viola! A lovely, totally unique broach to wear on Easter!


Super cute, right?! I made one too! I didn't have a doily so I made a crochet flower and used that instead. I also had my daughter color on the bunny so I can wear something she helped make. Here is mine:

A big thank you to Julia for being a great guest blogger and for showing us a great Easter/Spring/Earth Day craft!
If anyone makes this I'd love for you to share your creation!
You can upload your pictures here.

Tidak ada komentar:
Posting Komentar